Video: Easy-to-Build $50 DIY Wood Workbench The Family HandymanEasy to Build Workbench Buy the DIY workbench wood and start cutting 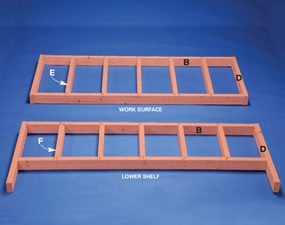 Photo 1: Workbench frames
Assemble the DIY wood workbench frames for the workshop bench surface and lower shelf to begin building a workbench.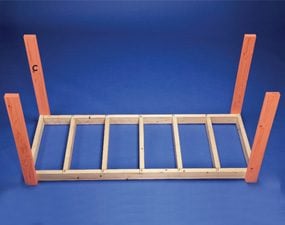
Photo 2: Legs
Screw the legs to the work surface frame. 
Photo 3: Lower workbench frame
Flip over the workshop bench and attach the lower shelf frame. Use gallon paint cans to support the lower shelf frame when you’re attaching it to the main workbench legs. 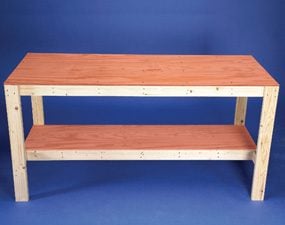
Photo 4: Plywood work surfaces
Screw the plywood to the frames. 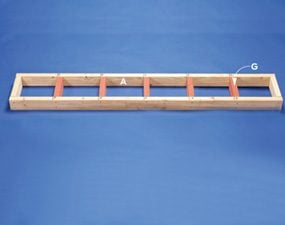
Photo 5: Top shelf frame
Assemble the top shelf frame. 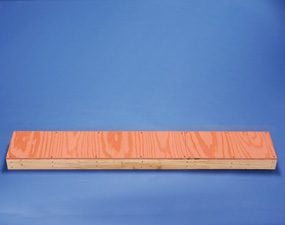
Photo 6: Top shelf
Add the plywood. 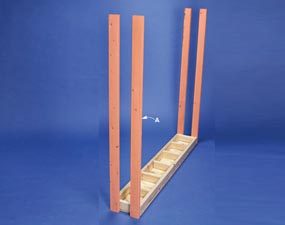
Photo 7: Top shelf legs
Attach the top shelf legs upside down. 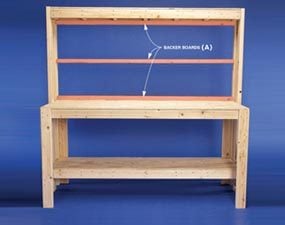
Photo 8: Put it all together
Screw the legs to the workshop bench and add the backer boards
This sturdy 30-in. x 6-ft.-long DIY workbench is the ultimate in simplicity. It’s made from only fifteen 8-ft.-long 2x4s and one sheet of 1/2-in. plywood, and it makes for a better tool workbench than you could buy for much more. Learn how to build a workbench by following the cutting diagrams to cut the parts: Figure B to cut the plywood tops, then Figure C to cut all the framing. Use the lengths provided in the Cutting List. You can either screw the framing together with 3-in. screws or hand- or power-nail it together with 3-in. nails. Screw the plywood down with 1-5/8-in. screws.
To make these project plans even easier to follow, we tinted the parts that get added at each step. Keep reading to learn how to build this brilliant small work table with storage.
Construction and Cutting Details
All the workbench dimensions and pieces are shown in Figures A, B and C, and keyed to the Cutting List. All together you’ll need fifteen 2 x 4 x 8s and one sheet of 1/2-in. plywood. Click the button above to download the project plans.
Accessorize it! 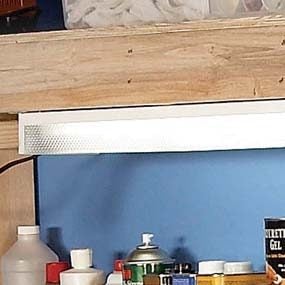 Lighting for workbench shelves
Good light is mandatory for any workbench. Buy an inexpensive 4-ft. shop light and screw it right to the underside of the top shelf. 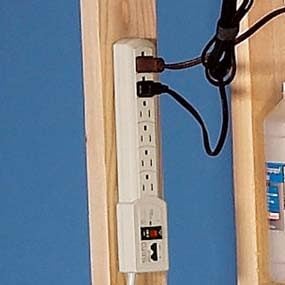
Power strip
Forget extension cords. Mount a power strip to one of the legs and you’ll have all the power you need for tools and chargers. Use its switch to control the light. 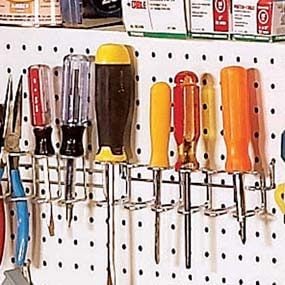
Pegboard
Whether you cover the whole back or just the lower half, keep down the bench clutter by stowing all of those tools you use every day within easy reach. 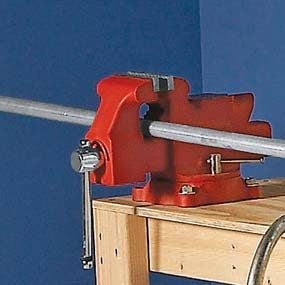
Bench vise
Yes, it’ll cost as much as or more than the bench, but what workbench would be complete without one? Add a bench vise for the best garage workbench around.
Required Tools for this garage workbench Project
Have the necessary tools for this DIY garage workbench project lined up before you start—you’ll save time and frustration. Circular sawCordless drillMiter sawSafety glassesStraightedgeTape measure
Required Materials for this Project
Avoid last-minute shopping trips by having all your materials ready ahead of time. Here’s a list. 1-5/8-in. drywall screws2x4s3-in. drywall screws4 x 8 x 1/2-in. plywood
Read more: familyhandyman.com